Replaced collectible notes locations are mostly tied to the main route, so the safest way to clean them up is to follow the story path and stop when each room, roof, or side area becomes accessible. Most of the important notes are impossible to miss if you clear each encounter before moving on, while a few optional collectibles sit just off the critical path.
The sections below keep the same story flow as the source route and call out the key pickups in the order they appear. I’ve also flagged the optional items so they’re easier to prioritize if you only want the collectibles that matter most.
What counts as collectible notes and items here
This route covers the notes, records, booklets, and related pickups listed in the source flow, including:
- Story notes and diary-style entries
- Music records
- Optional upgrades tied to route progress
- Key quest items that unlock follow-up interactions
The guide follows the same chapter progression as the source and keeps the locations in practical travel order.
Route overview for Replaced collectible notes locations
Use this order to avoid backtracking:
- Chapter 1 start and canal area
- Roof of the hangar and early combat rooms
- City entry, trailer stop, and sniper rooftop
- Pawn shop and the fence-underpass note chain
- School generator section and second-floor notes
- Chapter 2 social hub areas, the arcade, and the hospital wing
Early-game notes: first encounter, rooftops, and first fights
Notes about Med-Stim and Huxley. Chapter 1
This documentation appears automatically at the start of the game, so there’s nothing to hunt down here.
Music - Lab Rat
This one is hard to miss. Follow the canal and you’ll run into the record naturally.

Note - Survivor’s Memory
Keep following the story route across the hangar roof. You’ll fall into the hangar, fight your first battle there, and find the note in the same room.
Note - Disaster: 20 Years Later
After the hangar fight, head outside toward the dead end. The note is waiting there.
Note - Board Game
Move a little farther forward and you’ll meet a second enemy group. After clearing them, go right and pick up the note.
Notes after major encounters near city entry
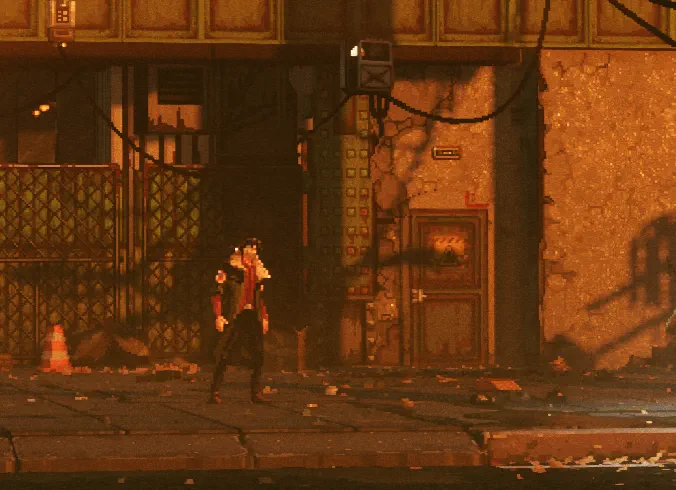
[Optional] Note - Farewell Letter
Once you reach the road into the city, keep moving a little farther. A trailer on the route holds the note.
![REPLACED [Можно пропустить] Записка - Прощальное письмо](/images/uploads/guide/guide-05.webp)
[Optional] Upgrade - Med-Stim and Health
Continue into the next area and you’ll run into the sniper. Move past him and climb to the roof of the building. After dropping down, turn around and walk to the end of the path. The burger sign in the background is the landmark to watch for.
![REPLACED [Можно пропустить] Улучшение - Мед-стим и Здоровье](/images/uploads/guide/guide-06.webp)
Note - Eviction Notice
Right after the upgrade, go right and climb onto the yellow truck. A little farther to the right, the note is on the door.
Note - Pawn Shop Note
From the previous note, head upward using the same yellow truck. Push the crate down, climb into the vent, and drop into the room with the enemies. Clear the room and pick up the note inside.
Note - Pastor’s Note
Leave the pawn shop by jumping through the enemies again. Fight through the next group, continue forward, climb over the fence, and look under it for the note.
Lombard, safe, and under-fence notes
The source route does not split these into separate optional branches, but the important part is the same: keep checking doors, fenced edges, and rooms immediately after combat. These entries are easy to miss if you sprint past the loot room after a fight.
School and generator interactions: battery + nearby notes
Record and notes - Portable Battery, Speech, and Poster. End of Chapter 1
After the pastor note, climb over the fence and drop into the next enemy encounter. Run from the sniper and you’ll reach the school.
On the first floor, pick up the battery near the terminal and insert it into the generator. That unlocks the battery record.
Then climb the extended columns to the second floor. Two notes are waiting there: one on the railing and one in the filing area.
Second-floor notes in the archive/cartography area
The school’s second floor is the main cleanup point for Chapter 1 collectibles. If you’re missing something here, check both the open railings and the storage-style side spaces before leaving the area.
Chapter 2 collectibles: David’s quest, the arcade, and the hospital
David’s quest. Start of Chapter 2
You arrive in a new area.
After the opening dialogue, go down the steps and look for the man shouting below.
He should be standing roughly here.
He explains that he bought a holoscope, but the lens is damaged and he needs a similar one. That leads to the girl’s location.
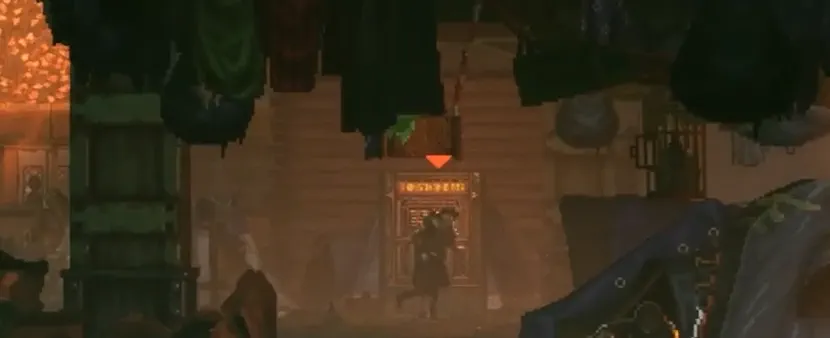
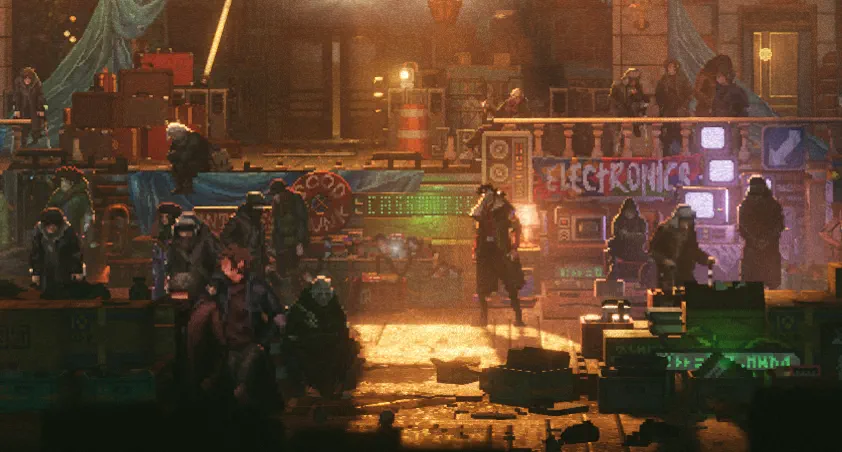
The girl is inside the main building. From David, head left until you see the entrance with the huge letters above the door. Go inside, keep left again, go down, then follow the corridor to the right. Enter the room with the arcade machines to find her.
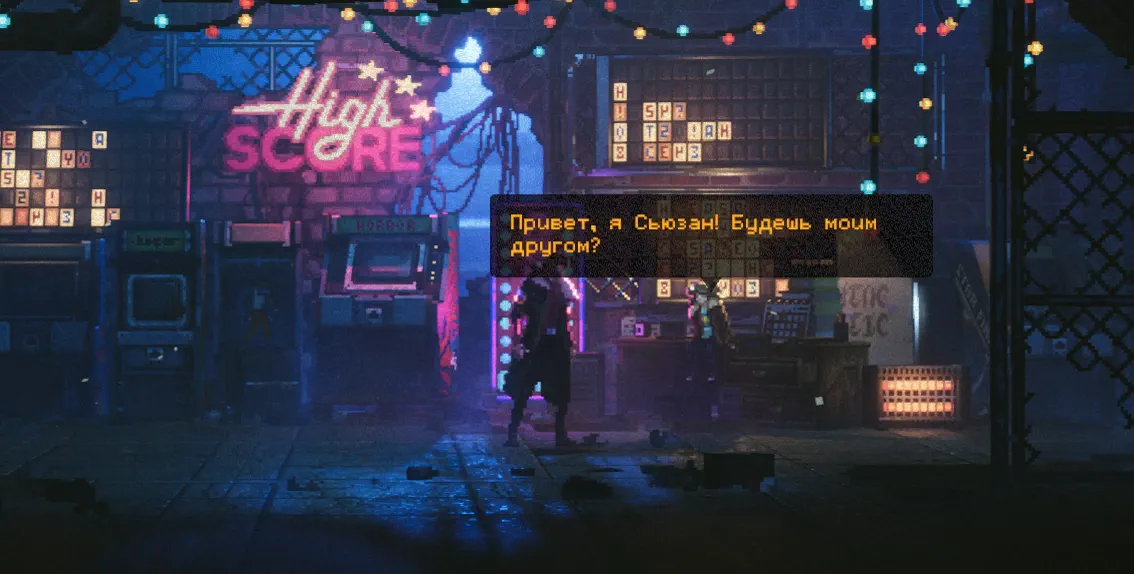
After speaking with her, you learn she only gives the binoculars to friends. To become one, you need to help with the broken arcade machines. The fix comes from dismantling the ticket machine. Go back outside the large building, head left, pass under the bridge, and interact with the machine. You’ll get electronics from it.
Bring the parts back and repair the arcade machine. Then beat the high score in the arcade game to earn the reward:
- Med-Stim and Health upgrade
Take the binoculars from the girl, then go back up to the platform where the chapter started. Activate the generator there to receive another:
- Med-Stim and Health upgrade
Note - Towers Brochure
After speaking with David, go down from the platform. Near the place where you first met him, there is a passage. Move slightly right there and you’ll find the note.
Record - Strange Counting Rhyme
Leave the area where the brochure was scanned and head left toward the entrance of the large building. You’ll pass a sign on the way.
Note - Departure Diary
Go farther left. Near the main building entrance, there are tents on the left side. The diary is there.
Note - Old FSZF Booklet
Continue left from the diary until you reach the ticket machine you dismantled earlier, then pass it and enter the hospital.
The doctor there offers a quest, but the collectible route continues in the next room. The booklet is found in the back area.
Music - Endless Meadow
Return to the large building. As soon as you enter, you’ll see the music record. Go around the railing and scan it.
Hospital and clinic items: booklet and nearby collectibles
The hospital section is easy to clean up once the ticket-machine route is open. If you’re checking Replaced hidden entries locations specifically, make sure to sweep the back room after talking to the doctor and then return to the main building for the music pickup.