
Portals in Far Far West are simple once you understand two rules: they always work as a two-way pair, and they only help if you place them with intention. Used well, they save walking, duplicate eligible spell projectiles, and let a portal-focused support player move the whole team across the map or back into a fight before the other side even realizes what happened.
The strongest use case is not solo damage. It is map control, fast repositioning, and rescue play with randoms. If you want the Far Far West portal guide answer in one line: learn portal placement first, then build around speed, cooldown, and a defensive spell that keeps the exit safe.

Portal basics: how the card creates a two-way network
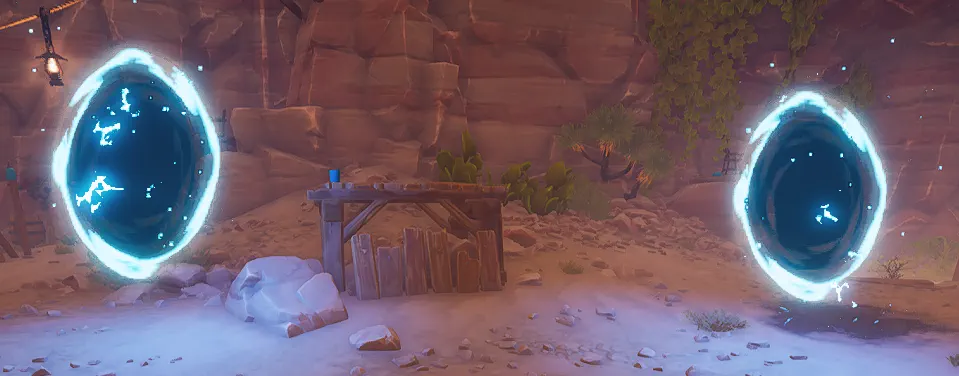
Once you unlock the portal card, using it throws the card in an arc and spawns a portal where it lands. Place a second one a meter or two away and the two portals connect into a two-way network.
That network teleports:
- Players
- Eligible spell projectiles
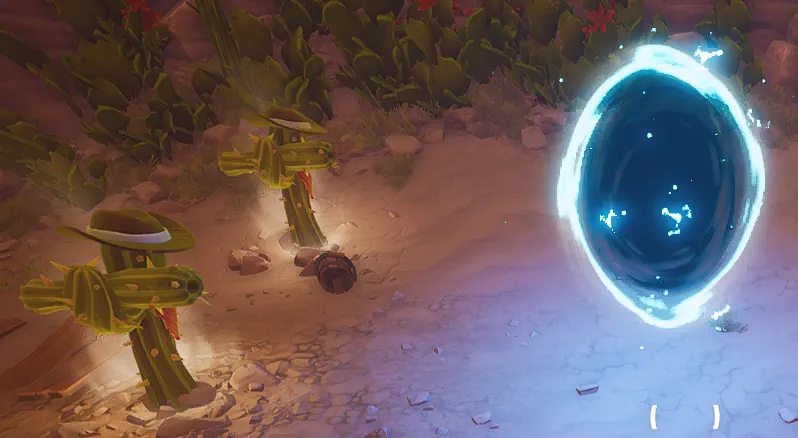
It does not work on every spell. If a spell has no projectile, it will not be duplicated by the portal. Examples called out by the source include Rain, Rescue, and Wisp. Cactus spells are especially strong with portals because their projectiles benefit cleanly from the interaction.
Portals also preserve the rough direction of the spell throw. If you throw a spell through a portal while facing a certain way, it should emerge in that same general direction on the other side. The easiest way to control that is:
- Face the direction you want the spell to travel.
- Jump backward through the portal.
- Turn and throw the spell once you are lined up.
That keeps your exits and projectiles consistent instead of sending them off at awkward angles.

Portal placement rules and fizzle conditions
Portals follow a simple A/B replacement system that is easy to miss at first.
- The first portal you place is Portal A.
- The second is Portal B.
- The next portal you place replaces A.
- The one after that replaces B.
- Then the cycle repeats.
Only two portals can exist on the map at once. That matters a lot in co-op, because a teammate bringing portal can replace your exit without warning if you are not coordinated.
Placement also has physical rules:
- The portal cannot spawn if the spot is obstructed.
- Tight spaces are unreliable.
- Two portals cannot be placed too close together.
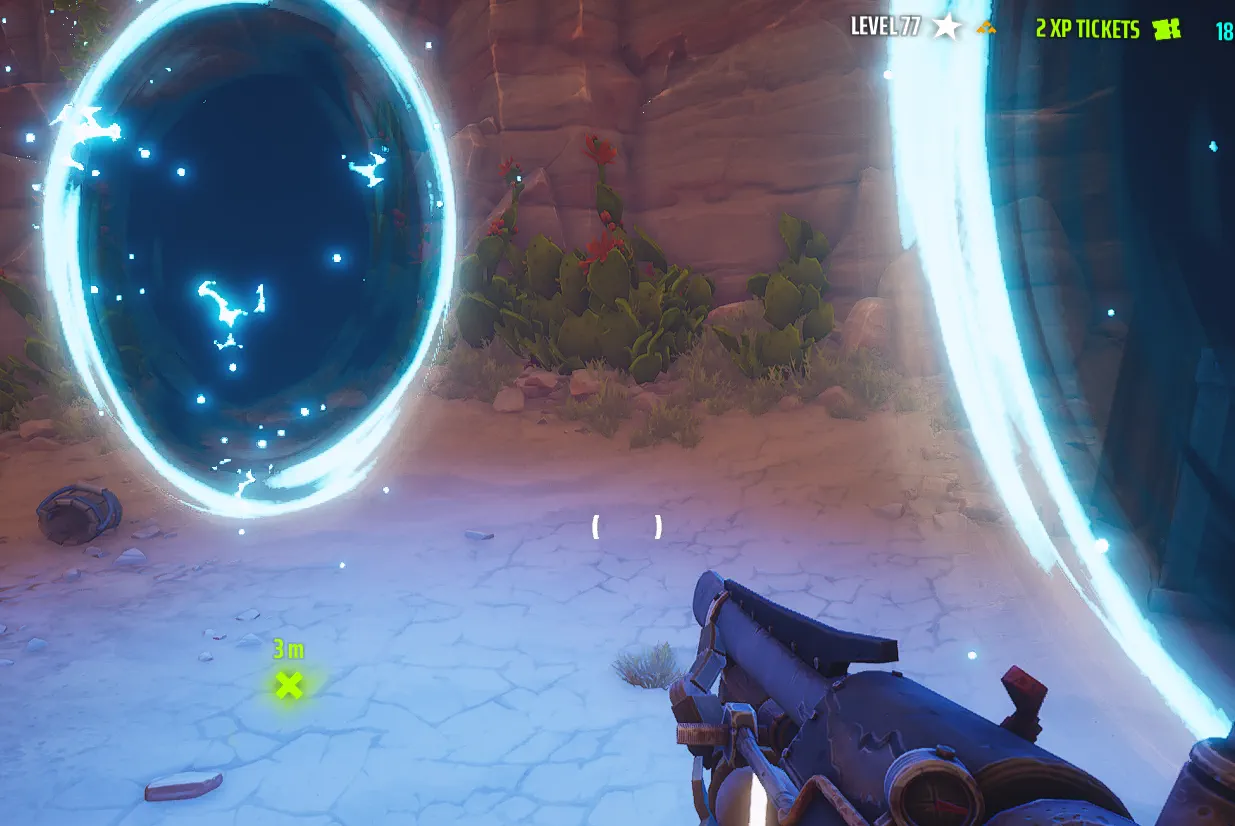
The source’s tested spacing estimate is about 3 meters between portals. If you try to place one too close to the other, it will delete the old one or fizzle out instead of creating a usable pair.
One important edge case: if you accidentally place a new portal too close to the last one, it can replace the older portal in the pair and leave you with only one portal active. Avoid stacking portals on top of each other unless you are intentionally testing behavior.
How portal replacement works in co-op
If more than one player brings portal, the map still only supports two active portals total.
That means:
- Player 1 places Portal A.
- Player 2 places Portal B.
- If Player 2 places another portal, it replaces A.
- The A/B cycle continues no matter who throws it.
This is why uncoordinated portal play can strand teammates. One person can step through expecting a return path and lose it because someone else replaced the pair.
If you are playing with randoms who also bring portals, the safest approach is not to fight the system. Stay close to the other portal user, use the shared network, and avoid splitting off too early. If you jump through to duplicate spells, keep your timing tight so you do not lose the return portal before you can come back.
Portal placement rules that make co-op easier
For random groups, portal play gets much better when you keep these habits:
- Place portals in open enough spaces to avoid fizzles.
- Do not stack them too tightly.
- Tell the team when you are moving to a new objective.
- Do not assume a teammate will hold the same portal pair you do.
- If another portal user is active, keep your own placements close to theirs so you do not strand yourself.
A portal user who plays without communication usually creates more walking, not less. A portal user who gives the team a clean route saves time on almost every mission.
Portal-focused build for Nightmare with randoms
The source build is aimed at support play on Nightmare, especially with random teammates. It is not a pure carry setup. The point is to move fast, set up portals ahead of the team, and keep the route safe enough that others can follow without thinking.
The core idea is simple:
- Use Portal to build the route.
- Use Pistolero to defend the portal exit and clear the area.
- Use Rescue to recover teammates instantly when they go down.
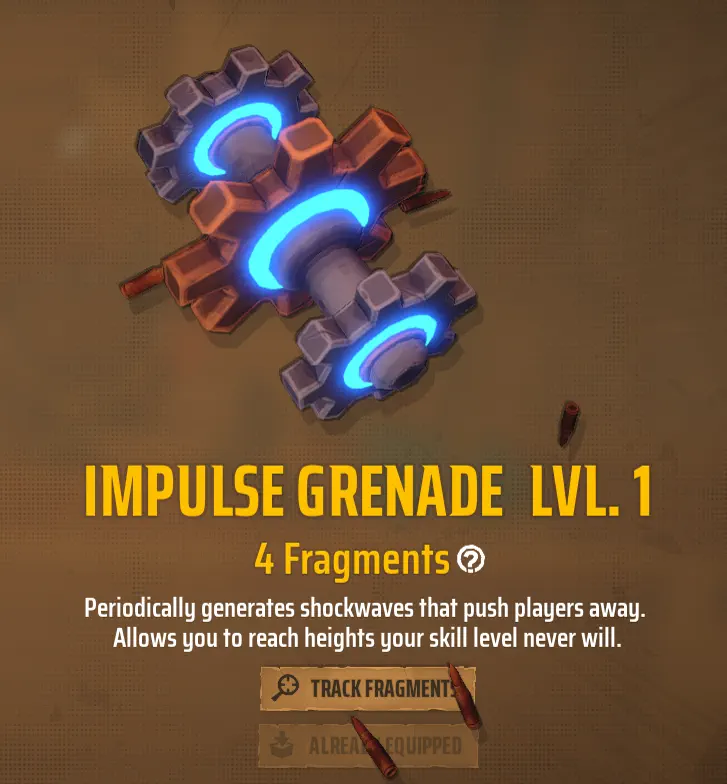
- Use Impulse Grenades to cover huge distance quickly.
That setup favors mobility and uptime over raw weapon damage.


Build priorities
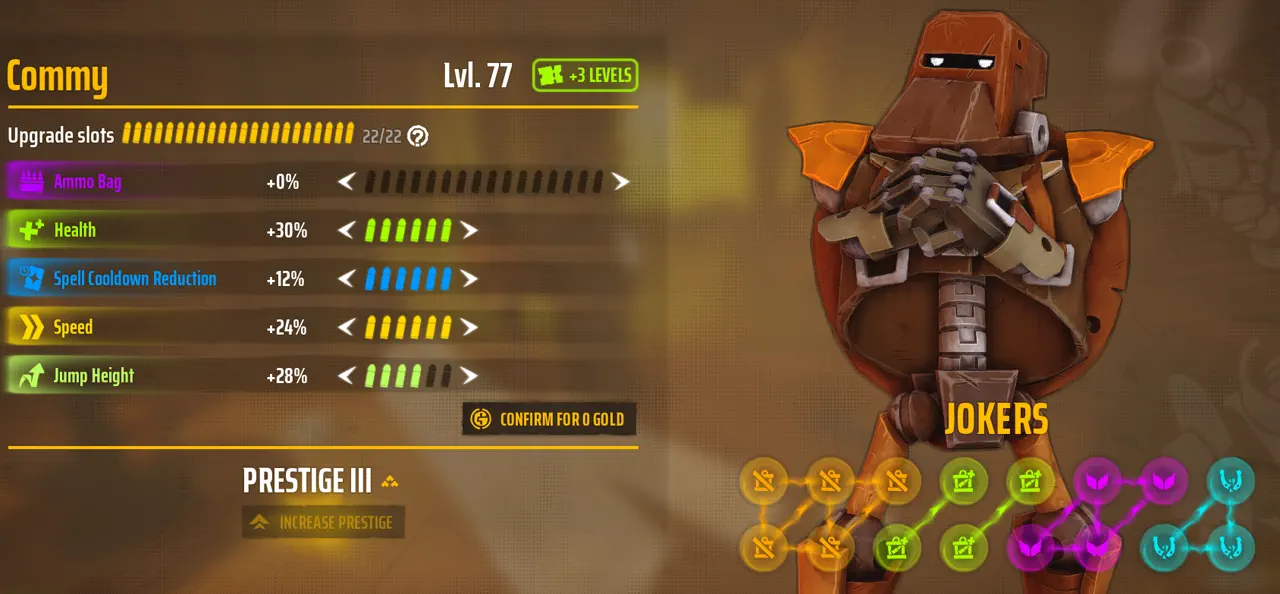
The suggested stat priority is:
- Speed
- Health
- Spell cooldown reduction
- Jump height
- Ammo
Speed is the highest priority because it improves both survival and map control. Health comes next so you have more room before Second Wind triggers. Cooldown reduction matters because it helps portal uptime and keeps defensive spell pressure high. Jump height helps with grenade movement. Ammo is the lowest priority because the map already provides plenty.
Joker priorities
The source order is:
- Toolbox
- Care Package x2
- Second Wind
- Disgraced
Toolbox plus two Care Packages gives you three Impact Grenades every 90 seconds. That is the engine of the build. If you happen to find an extra Care Package during a run, mobility becomes even stronger.
Second Wind is valuable on any build, but especially on one that asks you to jump into danger zones and recover fast.
Disgraced is treated as a strong fit when you have the extra joker slots the build expects. If you do not have those slots, the source suggests Heavy Drinker as a practical alternative. Helping Hand is also a reasonable fallback when Rescue does not prioritize the downed teammate you need.
Why Pistolero pairs well with Portal
Pistolero is the source’s preferred companion for Portal because it solves two problems at once: defense and reposition safety.
It works well here because:
- It can keep firing while you move.
- It helps protect the portal exit.
- It can clear enemies on the far side before you step through.
- Its stationary behavior is actually useful for holding a portal area.
That last point matters. A defensive summon that runs off can leave your portal exit exposed. Pistolero is favored because it stays relevant where you placed it.
Bandito is not dismissed as unusable, but it is more conditional. The source notes that it can get stuck on terrain or wander off in ways that make it less reliable for holding a portal lane.
Support plan: crossing objectives and rescuing teammates
This build is strongest when you treat portal placement like team movement, not just personal mobility.
A practical pattern looks like this:
- Place a portal at your current safe spot.
- Jump to the next objective with Impact Grenades.
- Place the next portal there.
- Let teammates use the portal to cross instantly.
- Use Pistolero to keep the landing zone safe.
- Use Rescue if someone goes down in a dangerous spot.
That lets the team move without walking the full map every time.
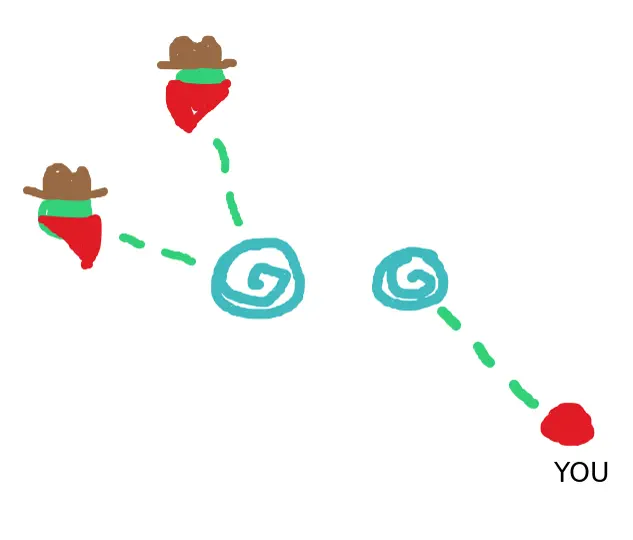
For rescues, the source’s play pattern is:
- Track where each teammate is.
- If someone dies far away, check whether the area is still dangerous.
- Make sure your current location has the last portal you placed.
- Jump toward the downed player.
- Find a landing spot.
- Place a portal.
- Ping it so the teammate can see the route.
- Use Rescue to bring them back up.
- Guide them through the portal if needed.
The rescue fails if you die before getting the portal down. After the portal is placed, the team can usually take it from there.
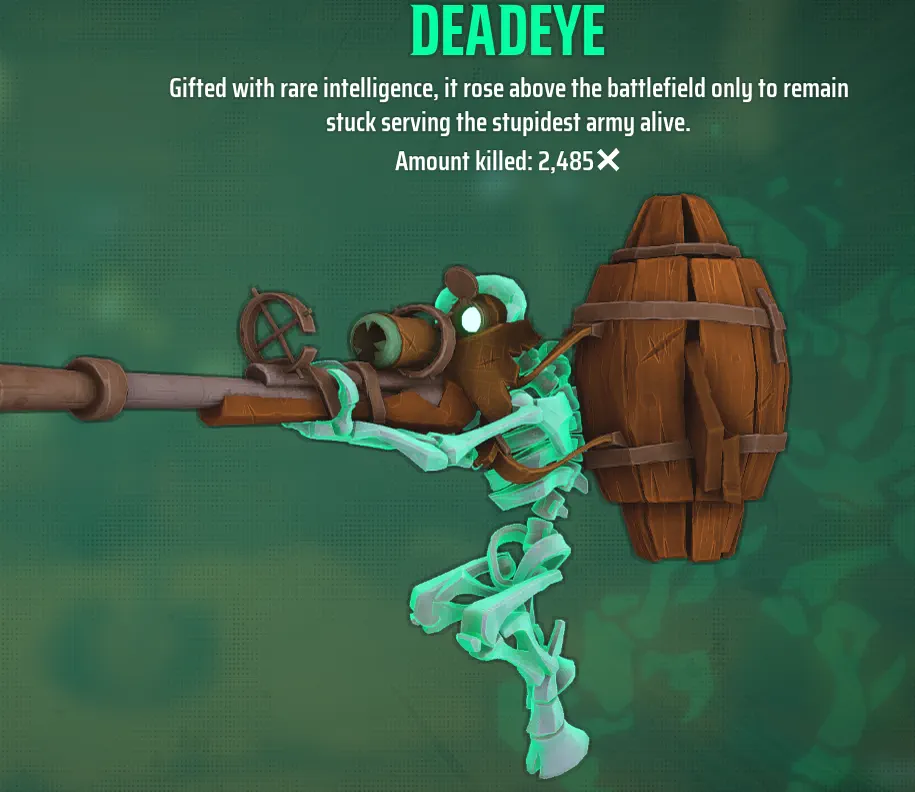
Deadeye counter with The Long Ranger
Deadeye is the matchup that threatens this whole movement plan. Once a Deadeye locks on, distance and portals stop mattering much if it still has line of sight.
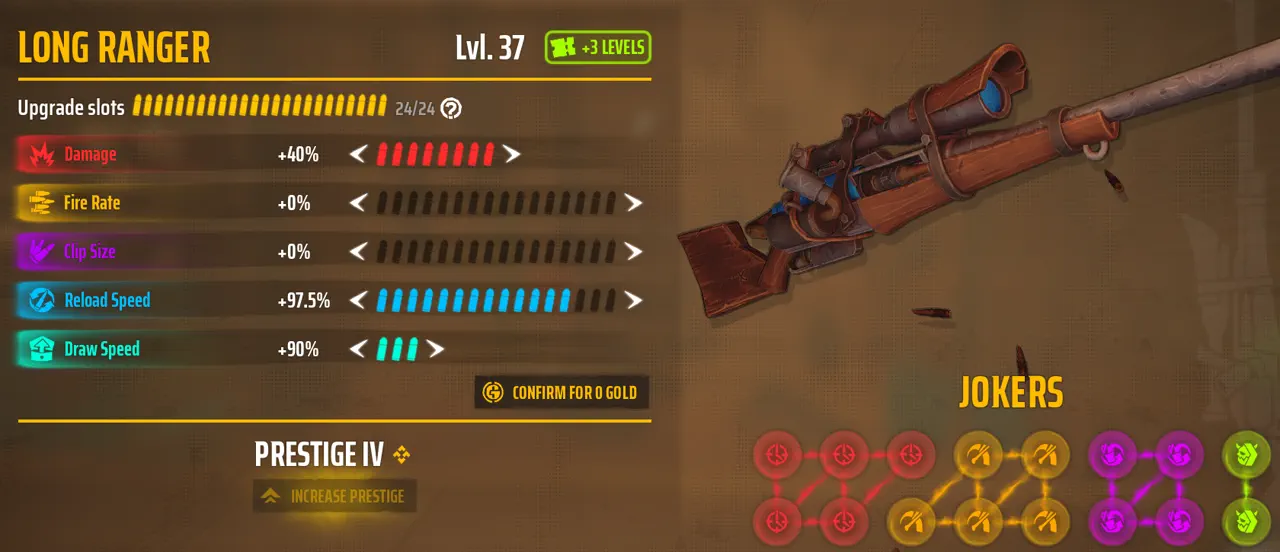
The source recommends The Long Ranger as the main answer because it can kill a Deadeye in one shot with the right setup.
Key points from the build:
- A body shot is enough when the listed damage breakpoint is reached.
- The source calls out 104 damage against a 100 health Deadeye.
- That means you do not have to rely on a clean weak point hit every time.
That matters because Deadeye hitboxes can be awkward, and the jetpack/weak spot angle is not always reliable. The build leans toward consistency instead of gambling on perfect aim.
Weapon upgrade priorities
For The Long Ranger, the source prioritizes:
- Damage
- Draw speed
- Reload speed
Fire rate is not part of the priority. The goal is to hit the damage breakpoint first, then make the weapon easier to bring up and reload under pressure.
The supporting joker order is:
- Focus shot
- Speedster
- Consumer
- Rampage
Focus Shot is valued because spell cooldown reduction helps both portal uptime and utility spells. Speedster and Consumer help reach the Deadeye breakpoint. Rampage helps recover momentum after you stop to aim, which is important when you are trying not to get caught after a sniper shot.
Impact Grenade movement and jump timing
Impact Grenades are the movement tool that makes the build work. The source treats them as the main reason you can reach objectives so quickly.
The build assumes:
- You get 3 Impact Grenades after the cooldown cycle completes.
- You should spend them in quick succession when you are moving to a target.
- If you are full, you are ready to go.
- If you are empty, you are waiting.
The core movement tip is to dash-jump, not jump-dash.
Dash-jump timing
The basic order is:
- Dash first to build speed.
- Jump while in the air to keep that speed.
- Repeat as soon as you regain movement options.
After an Impact Grenade launch, the source’s timing rule is to dash at the apex of the jump, just before you start falling. That gives you extra forward movement without wasting the vertical boost too early. After the dash, jump again as you begin to descend to keep momentum alive.
That sequence is what turns a grenade toss into real map-crossing speed.
Using grenade movement with portals
The build uses grenades to reach a spot quickly, then portals to turn that position into a team shortcut.
A simple flow is:
- Jump to the objective.
- Drop a portal.
- Let the team take it.
- Move on before the next objective stalls the run.
If your grenades are recharging, do not force a bad jump. Help with the objective, clear threats, or hold the area until you are ready again.
Downtime usage: what to do while grenades recharge
The build is fast, but it is not nonstop travel.
While Impact Grenades are recharging:
- Help the team on the objective.
- Use Pistolero to guard the area.
- Shoot Deadeyes before they lock onto teammates.
- Hold position during storms and main objectives instead of abandoning the team.
- Reposition portals if the route changes.
During a storm, jumping away early usually costs more than it saves. The source recommends staying put on main objectives until the storm phase ends, then using the recharge window to move again.
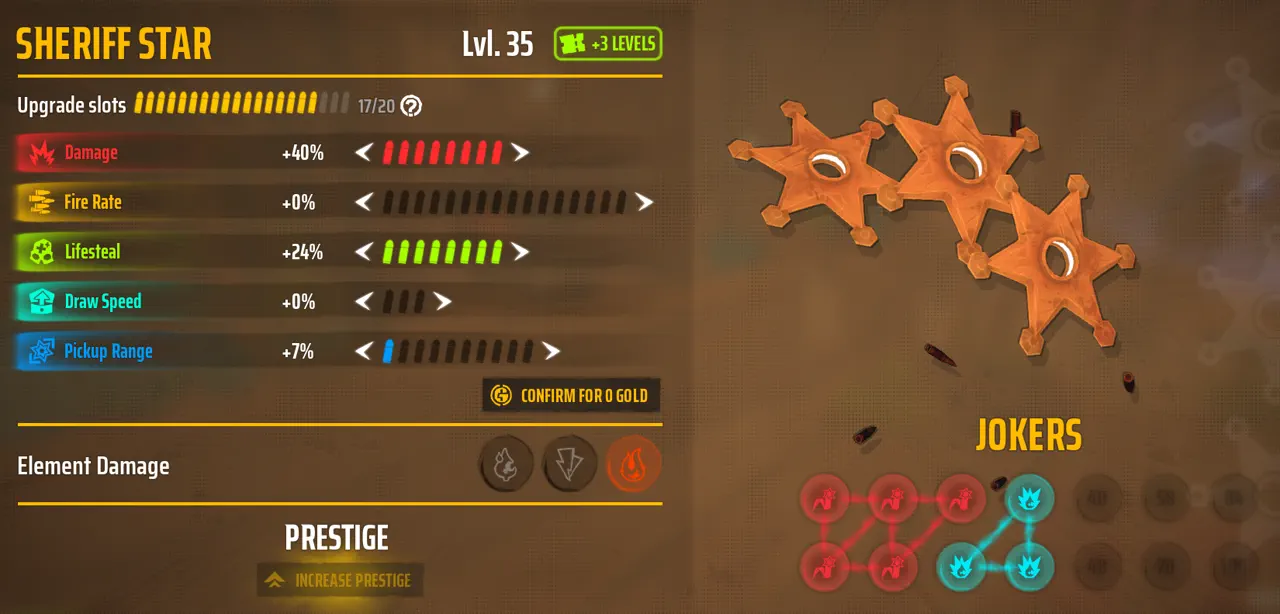
Secondary choice: Sheriff Stars as a movement option
The source is still testing secondaries, but it points to Sheriff Stars as the most interesting option for the build’s movement goals.
Why they are considered:
- Jump Star can add extra jumps and extend momentum.
- Scavenger Star gives more movement speed and pickup radius.
That said, the extra jumps only apply while the weapon is equipped and the jumps need to be charged from the ground. If you switch too late, you may miss the bonus.
The important practical note is this:
- Equip the Stars before you leave the ground.
- Do not wait until you are already airborne if you want the extra jump value.
- If you use an Impulse Grenade, position the grenade so the first pulse does not launch you before the Stars are equipped.
The source also notes an update to that test: the extra jumps do not disappear after you jump, so you can swap back to your primary midair without losing the movement bonus as long as you equipped the Stars before takeoff.
Quick portal checklist
Use this before you jump:
- Tell the team you are moving.
- Confirm where your current portal pair is.
- Make sure the landing area is not obstructed.
- Keep at least about 3 meters between portal placements when possible.
- Remember that the next portal replaces A, then B, then A again.
- Do not place portals on top of each other.
- Use Pistolero before or after crossing so the exit stays safe.
- Save Impact Grenades for travel, not random panic jumps.
- If a teammate dies far away, check the route, place a portal, and move immediately.
Practical takeaways
Portal play works best when you treat it as a team mobility tool with a defensive layer, not just a teleport gimmick. The strongest setup from the source is Portal plus Pistolero, Rescue, and a mobility package built around Impulse Grenades, speed, and cooldown reduction.
If you are learning how portals work in Far Far West, start with the placement rules, then focus on two habits: keep your exits clear, and never forget that every new portal replaces one of the old pair. Once that clicks, the rest of the build becomes much easier to use.